
If paper remains, move Background removal slightly right. If fine handwriting disappears, move it left. Use Edge softness for smoother transitions, choose Original when the ink color matters, and leave automatic trimming on only when you want tight transparent margins. Change one control at a time and inspect the whole signature after each change.
Your image remains on your device. Troubleshooting and processing happen locally in the browser. Use only a signature you own or have explicit permission to process.
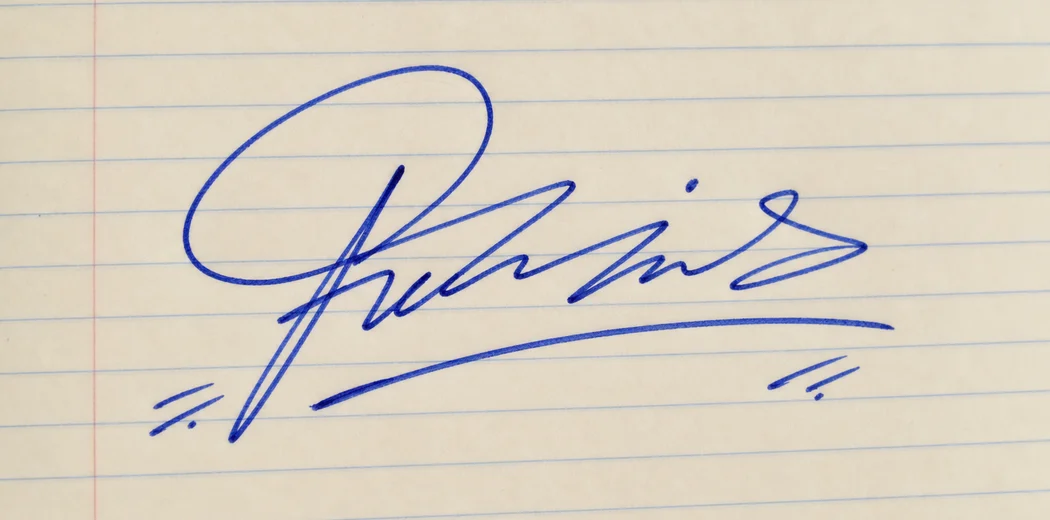
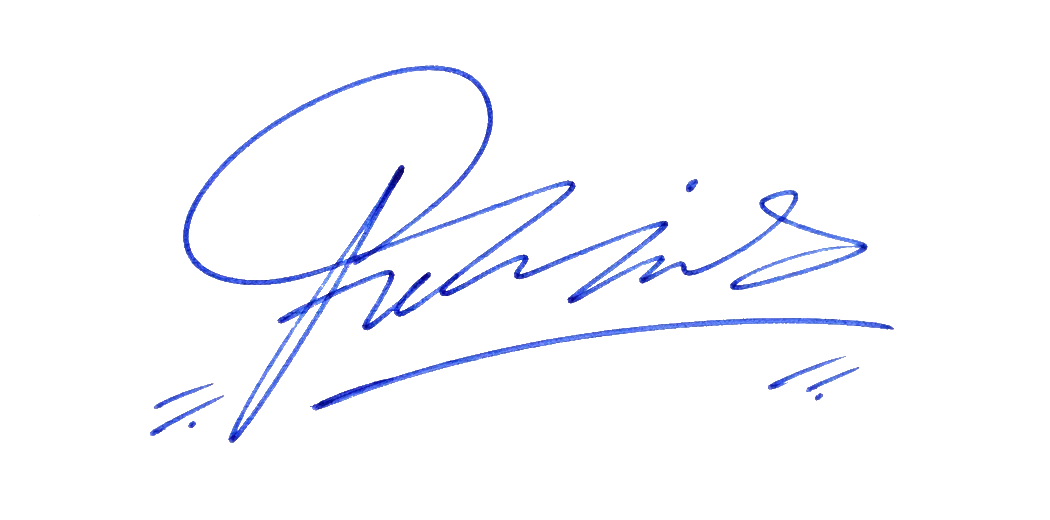
Start by naming the visible failure
Do not move every control at once. Compare the original and transparent previews, choose the closest symptom below, then make a small change and recheck thin loops, dots, underlines, and final strokes.
Paper or shadow remains
Increase Background removal a little at a time.
Ink is broken or too faint
Decrease Background removal and inspect the lightest strokes.
Edges look harsh
Increase Edge softness gradually rather than changing removal strength first.
Result is positioned badly
Use automatic trimming for a tight download, or disable it when surrounding space is intentional.
1. White or colored paper is still visible
Move Background removal slightly to the right. This asks the tool to reject more low-contrast detail that resembles paper. Stop as soon as the background disappears; continuing too far can remove pale ink and the antialiased edges of thin strokes.
If only one corner remains, the source probably has uneven lighting or a strong shadow. Crop away unused paper or retake the photo in soft, even light instead of sacrificing the signature to remove one dark area.
2. Thin strokes, dots, or loops disappear
Move Background removal left until the lightest intentional stroke returns. Check the entire signature, especially the start and end of flourishes, because those marks often have less pen pressure than the center.
Adjust Edge softness in small steps if the stroke boundary looks jagged. If the original ink is pale gray, faint pencil, or heavily compressed, a sharper photo with darker ink will outperform aggressive slider settings.
3. Notebook lines or a printed form remain
The tool is designed to suppress many long, light horizontal and vertical rules while protecting darker handwriting. It cannot reliably remove a line that is as dark as the signature, especially where the two overlap.
- Try a modest increase in Background removal.
- Crop out printed labels, borders, stamps, and unrelated boxes.
- Choose Black or Blue if a uniform ink color makes the remaining light detail less noticeable.
- For a future attempt, sign on plain unlined paper.
4. A hand, pen, stamp, or stray mark remains
Those objects are darker than the paper, so the remover may correctly classify them as foreground. The controls cannot determine that one dark shape is handwriting and another is not.
Crop the original image so only the signature and a small paper margin remain, then upload it again. If the unwanted object touches the signature, retaking the photo is safer than trying to remove it automatically.
5. The checkerboard preview looks blank
First move Background removal left. A very light signature may have been treated as paper. Next, confirm that the original preview actually contains the signature and that the file is not an already transparent PNG with hidden or nearly invisible pixels.
If the ink is white or very close to the paper color, this tool is not a good fit because it relies on contrast between handwriting and its local background. Retake the image with dark black or blue ink on light paper.
6. The transparent PNG looks black in another app
Transparency is not always displayed as a checkerboard. Some photo viewers use black, white, or the app theme behind transparent pixels. That does not necessarily mean the background has returned.
Insert the PNG over a colored page in Word, a slide, or an image editor that supports transparency. If the color shows through around the signature, the file is transparent. Do not convert it to JPG, because JPG replaces transparent pixels with a solid background.
7. The signature is tiny inside a large transparent box
Enable Remove empty space around signature before downloading. This option changes the output canvas, not the background-removal strength: it crops transparent margins around the visible ink while leaving a small safety margin.
Disable trimming only when you intentionally need the original canvas size or want to preserve spacing for a layout.
8. The ink color looks wrong
Select Original to preserve the photographed black, blue, or naturally varied ink. Choose Black or Blue when you want a consistent replacement color, or use Custom for another solid color.
Color selection affects the visible ink after separation; it does not make a difficult background easier to remove. Fix paper and missing-stroke problems first, then choose the final color.
9. The image will not upload or process
- Use a JPG, PNG, or WebP file no larger than 25 MB.
- Export unusual phone formats such as HEIC to JPG or PNG first.
- Try the original image instead of a damaged download or incomplete cloud placeholder.
- Reload the page and select the file again if the browser tab has been open for a long time.
- On a memory-limited phone, crop an extremely large photo before uploading.
When to retake the photo
Retake the image when a dark shadow crosses the ink, the photo is blurry, the signature occupies only a tiny part of the frame, a dark object touches the handwriting, or the paper and ink have almost the same brightness. Those problems remove information that sliders cannot recreate.
Follow the signature photo guide for a repeatable setup, then return to the background remover and start near the default settings.