
Sign with dark ink on clean white or pale unlined paper. Place the page in soft, even light, hold the phone directly above it, tap the signature to focus, and fill roughly two-thirds of the frame without cutting off any strokes. Avoid flash glare, hard shadows, digital zoom, printed lines, and nearby marks.
Photograph an authorized signature only. Use your own signature or one whose owner has explicitly allowed you to process it. Keep the original photo and transparent PNG private.
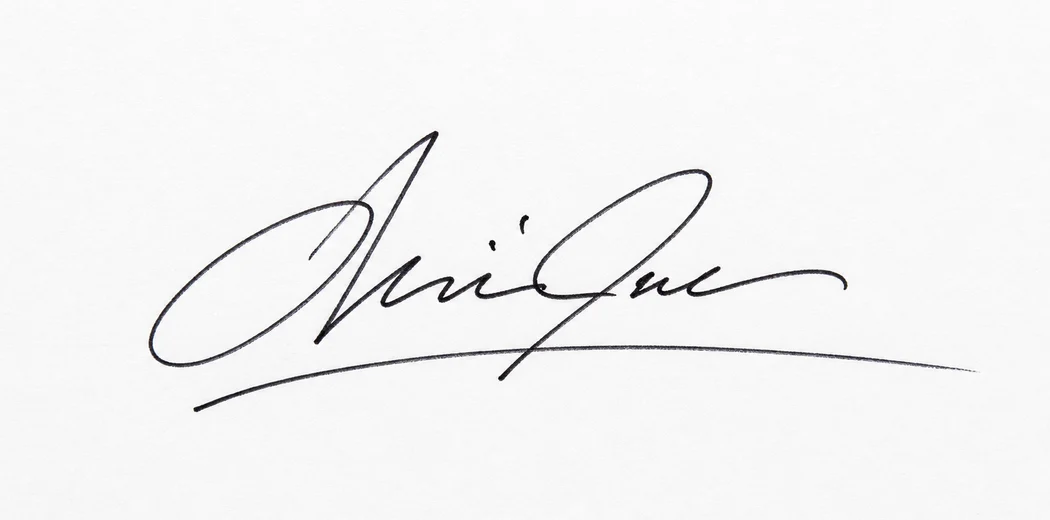
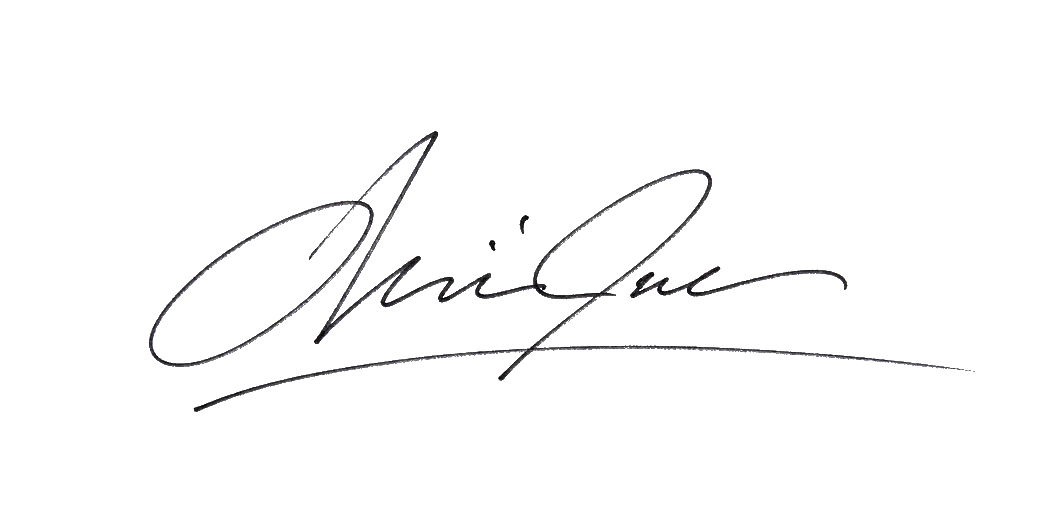
1. Use plain, light paper and dark ink
Clean white paper with black ink is the easiest combination to separate. Dark blue ink also works well when you want to preserve the original color. Pale gray pencil and low-contrast ink are harder because their brightness can be close to the paper.
- Prefer unlined paper without a printed logo, form field, stamp, or watermark.
- Use a pen that produces continuous strokes without skipping.
- Let wet ink dry before taking the photo so it does not reflect light or smear.
- Move unrelated writing far outside the photographed area.
If unlined paper is unavailable, the tool can remove many light notebook rules, but a simple background still produces the most predictable result.
2. Create soft, even light
Place the paper near a bright window without direct sun, or use a well-lit room where the entire page receives similar light. The goal is not maximum brightness; it is an even paper tone from edge to edge.
Turn off the phone flash when it creates a bright hotspot or a dark phone-shaped shadow. If one side of the paper is darker, rotate your position or move the page until the shadow disappears. A mild warm cast is acceptable, but a sharp shadow can be mistaken for ink.
3. Keep the camera parallel to the page
Hold the phone directly above the signature with the lens facing straight down. When the camera is tilted, one side becomes larger and the signature may look stretched after cropping.
- Lay the paper flat on a stable surface.
- Keep all four paper edges visually parallel to the edges of the screen.
- Support your elbows or use both hands to reduce motion.
- Move the phone closer instead of using digital zoom.
4. Focus on the ink and protect the highlights
Tap the signature on the screen before taking the photo. The thin edges of the handwriting should look sharp when you zoom in. If the paper is glowing pure white and parts of the ink look washed out, lower the camera exposure slightly and retake the image.
Use the original camera file rather than a screenshot, messaging-app preview, or repeatedly saved JPG. Extra compression can create blocky edges and faint halos around the handwriting.
5. Frame and crop the signature correctly
Let the complete signature occupy about 50–75% of the image width. Leave a small margin around the longest flourish, but do not include a large empty page. Check every edge before taking the photo so the first letter, underline, and final stroke are not clipped.
Crop out fingers, the pen, printed text, page borders, table edges, staples, and unrelated marks. The remover separates darker detail from lighter paper; it cannot know which dark objects are part of the signature.
6. Check the photo before uploading
- The complete signature is visible with space around every stroke.
- The ink is darker than the entire paper background.
- The image is sharp when viewed at 100%.
- No hard shadow crosses the handwriting.
- No other dark object or writing appears near the signature.
- The image is JPG, PNG, or WebP and no larger than 25 MB.
When those conditions are met, open the signature background remover, upload the image, and inspect the checkerboard preview before downloading.
Common signature photo mistakes
Hard shadow across the paper
Move the page into indirect light or change your position. Do not try to fix a strong shadow only by increasing removal strength; thin ink may disappear first.
Signature too small in the frame
Move the phone closer while keeping the full signature visible. A larger source preserves more detail than enlarging a distant crop later.
Blurry or shaky strokes
Tap to focus, support the phone, and take two or three photos. Keep the sharpest original rather than a screenshot.
Lines and objects near the ink
Use plain paper when possible and crop tightly enough to exclude printed text, hands, pens, stamps, and desk edges.